In the previous post we started our discussion about how to create flowing water effects in your landscape photography.If you’re just joining us now we highly recommend that you read that post first.It lays all the groundwork for the advanced techniques we’ll discuss today.
In this feature we’re going to talk about two things you’ll pull out of your creative toolkit.One of them is already in your possession.We all have it.
Making Those Long Exposures
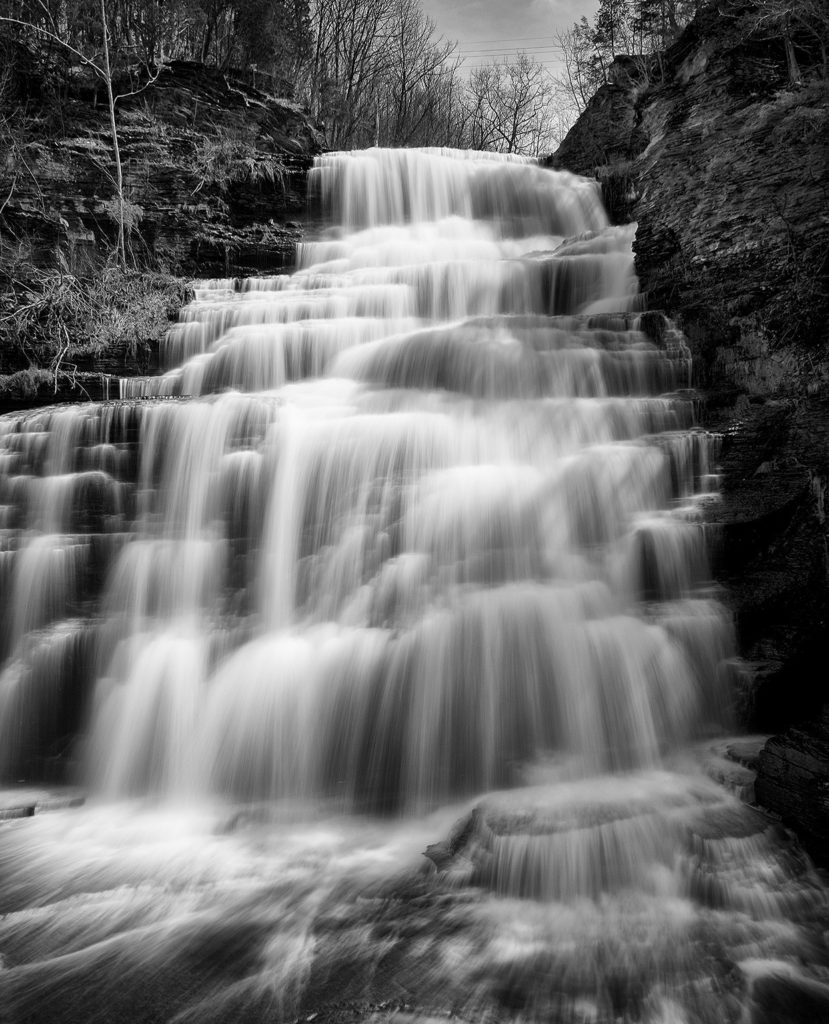
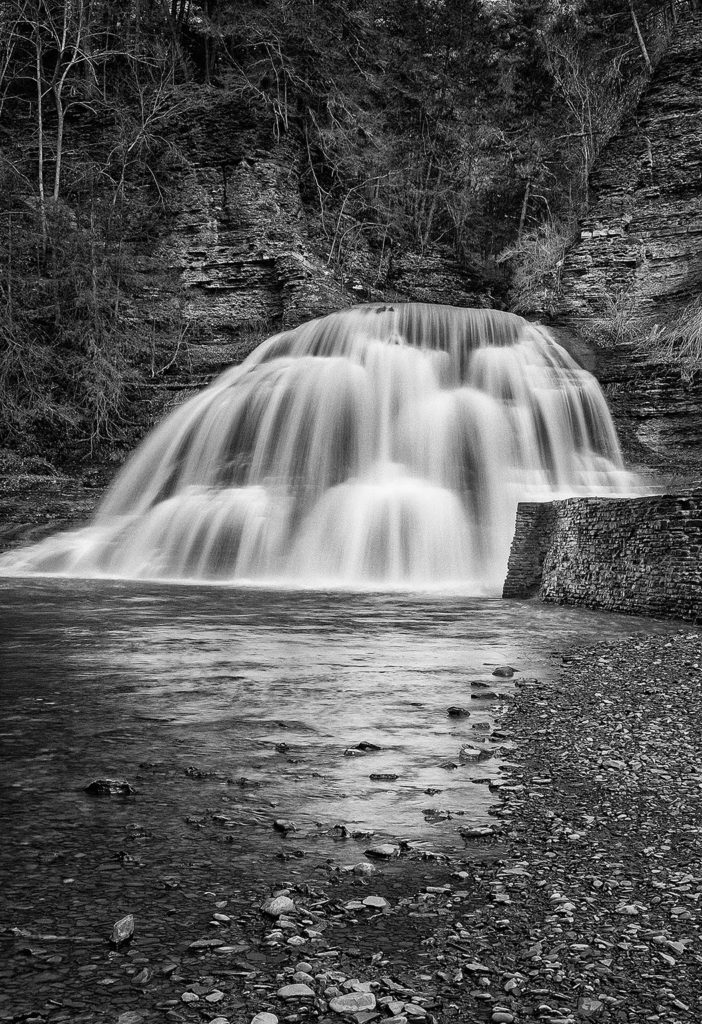
We’ve already discussed the necessity of using slow/long shutter speeds to create flowing water effects in your images.In order to give moving water that silky, flowing appearance we must record its movement over a period of time through a background that remains still.We further discussed the proper relationship between shutter speed, aperture and ISO rating in determining the correct exposure for any given photograph.
The image above was displayed in that previous post.It was captured deep in the forests of The Great Smoky Mountains.The dark wooded environment allowed for an 8 second exposure at f/11 using the lowest available ISO rating of 64 on the Nikon Z7 camera that was deployed.A Nikkor Z 24-70mm f/4 zoom lens was used and the entire package was mounted atop my Peak Design travel tripod.
Conditions Aren’t Always Perfect
When you set out to create flowing water effects in your images you won’t always have those ideal dark conditions.Sometimes you’ll be in an environment with lighting that simply won’t allow you to use long, slow shutter speeds.Even when you reduce your ISO rating to its lowest setting.Despite stopping down your lens to its smallest aperture.You still may not be able to employ a long/slow enough shutter speed to blur the water without overexposing the image.
When you reach the physical limits of what your camera can do for you on its own you must intervene.You must add neutral density filter(s) to the front of your lens.
Neutral Density Filters
Think of neutral density filters as “sunglasses” for your camera.They block light from reaching your camera lens the same way sunglasses prevent light from reaching your eyes.The filters are designed in a perfectly neutral tint so they won’t alter the color of your photographic image.
Just as sunglasses are available in different levels of shading, neutral density filters are available in different measures.By adding the appropriate neutral density filter to the front of your lens you can increase the length of your shutter speed without overexposing your image.
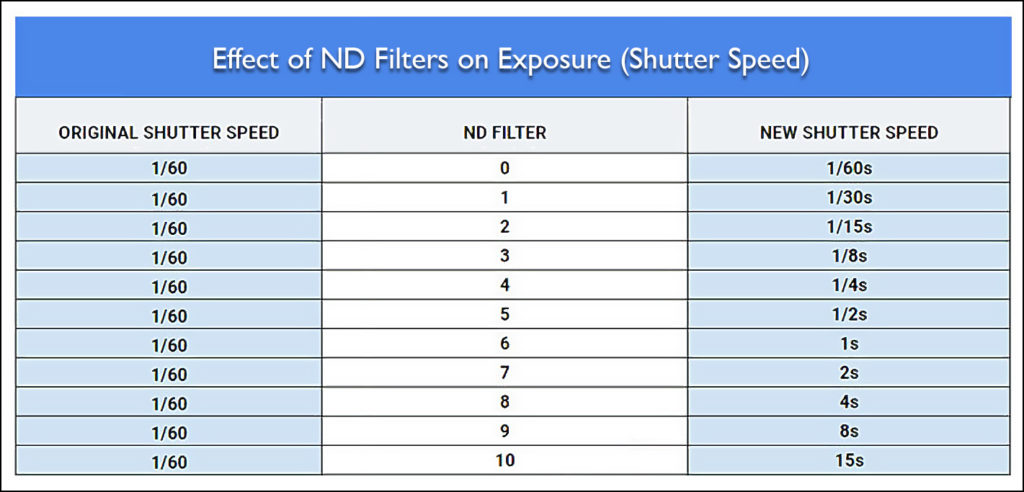
The chart above shows the effect that various neutral density filter levels have on exposure.For example: adding an ND8 filter to the lens will allow you to increase your shutter speed from 1/60 second to 4 seconds.Your camera’s aperture and ISO settings remain the same, but the longer shutter speed allows you to create flowing water effects that wouldn’t be recorded at 1/60 second.
What’s In My Bag?
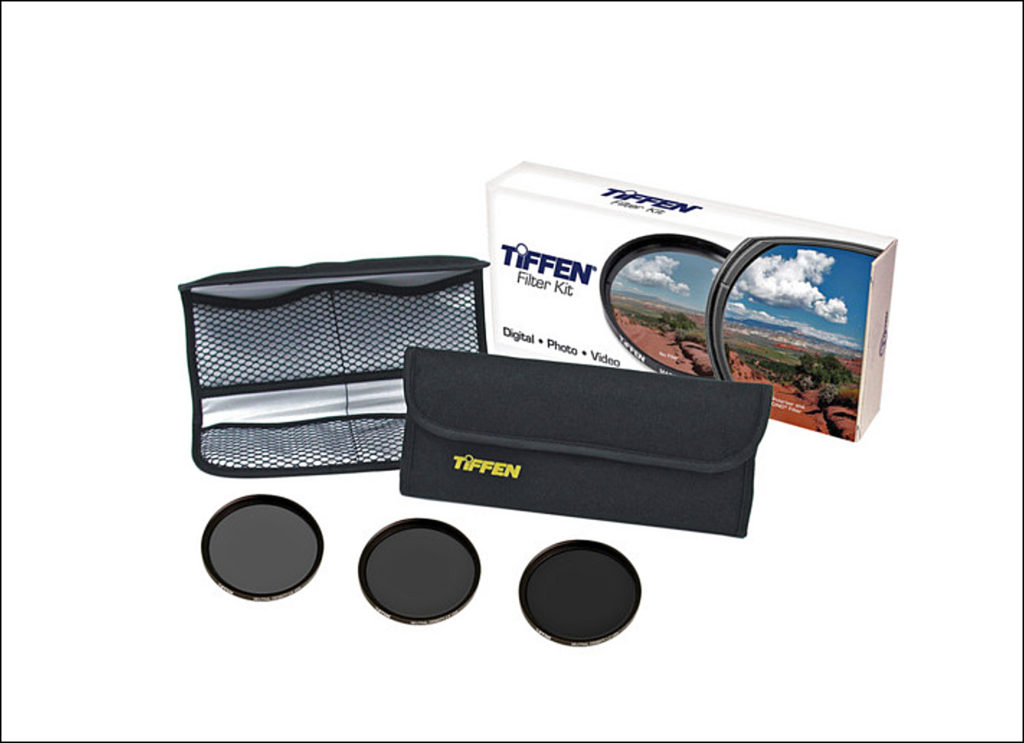
I personally carry three different neutral density filters in my travel photography kit.I have an ND2, an ND4 and 2.4ND filter.They are all the same diameter and can be stacked together to amplify the darkening effect.
I carry them in a filter pouch similar to the one shown in the Tiffen ND filter kit pictured above.The fourth “compartment” in that pouch holds my various stepping rings.The stepping rings allow me to use the ND filters on all of my lenses, regardless of their particular filter ring diameter.
Other ND Options
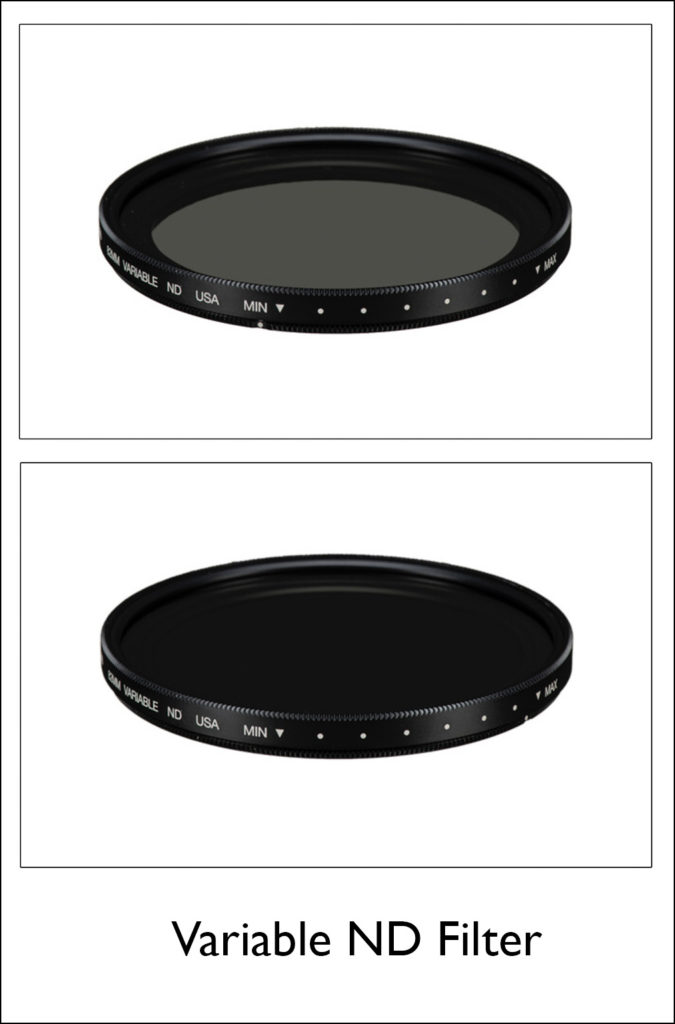
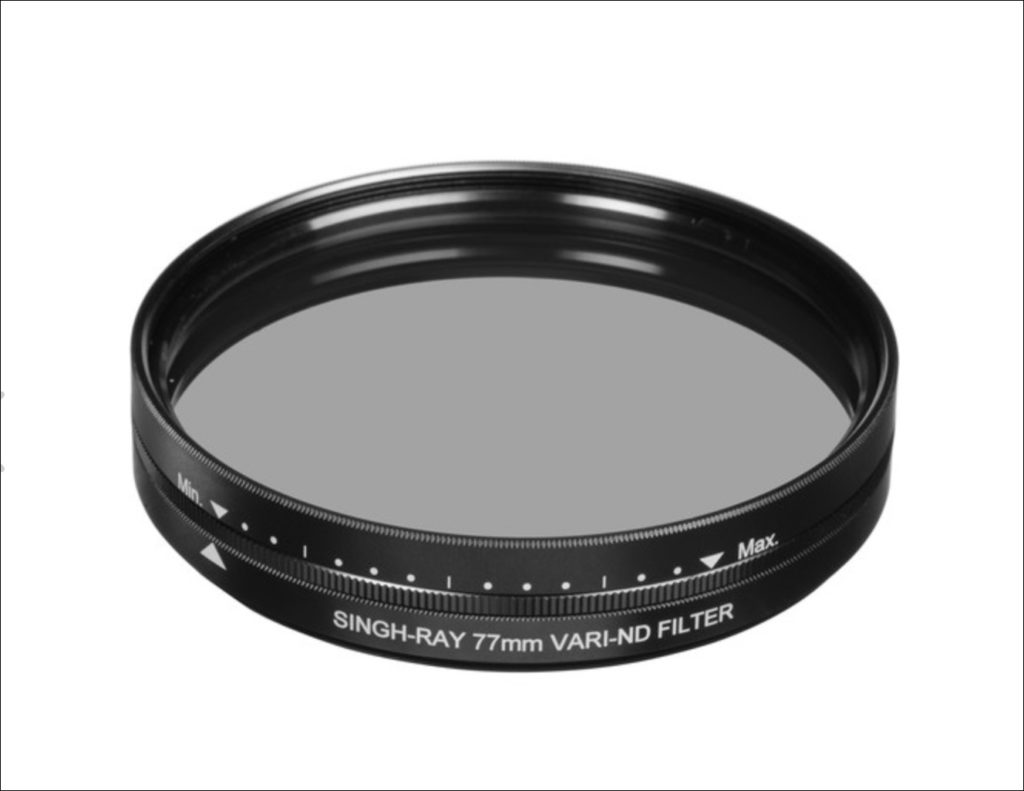
In lieu of carrying individual filters (and stacking them as needed) you can opt for a variable ND filter to create flowing water effects.These offer a level of convenience, for certain.You only have to carry one filter.The amount of neutral density that you apply can be “dialed in” by rotating a ring on the filter.The problem with variable ND filters is that the less costly ones can cause crosshatching artifacts in your images.Their larger depth also could cause objectionable vignetting in your photographs.
If your heart is set on carrying just a single filter I can only recommend one brand with complete confidence.The variable ND filter offered by Singh-Ray is the finest on the market.Period.It also carries a premium price commensurate with its quality.
Imagination…The Most Important Tool You Own!
Imagination is the single most powerful tool we, as photographers, possess.The best cameras, lenses and computer software mean nothing if we’re not inspired to create wonderful art.No creation can take place without the use of the artist’s imagination.
In the renowned personal development book, Think and Grow Rich, by Napoleon Hill two different faculties of imagination are explored.This volume was first published in 1937 and the lessons contained therein hold true to this day.Some 85 years and 15 million copies later it remains on the all time top-ten list of best-selling business books.
Mr. Hill first speaks of the synthetic faculty of the imagination.Through this faculty the artist arranges known concepts and ideas garnered through years of observation, experience and education.Using this blog feature as an example, a photographer might study the lessons contained herein, combining them with their own accumulated knowledge of photographic capture.With some experimentation, and perhaps the inspiration of viewing similar imagery; the photographer creates their own personal image through the use of the synthetic imagination.
Mr. Hill goes on to describe the creative faculty of the imagination.To quote him directly “…the great artists, musicians, poets, and writers became great, because they developed the faculty of creative imagination.”Creative imagination is described as the faculty through which inspirations and hunches are received.Of special note is the author’s assertion that “Both the synthetic and creative faculties of imagination become more alert with use, just as any muscle or organ of the body develops through use.”
A Challenge
So let’s use them as we create flowing water effects images, shall we?I would like to take credit for the words in the graphic below, but I can’t.They have become all but a cliché in the photography world.They are the words of 19th century philosopher, naturalist, poet and essayist, Henry David Thoreau.
So the challenge is this:Look at things differently.Sure, it’s OK to use the creative works of others as inspiration for works of your own.It is absolutely necessary…especially when learning and practicing a new technique such as the one you’re reading about now.But once you have the technique dialed in try to employ it in your own unique way.Don’t just look for the same old scenes that have been photographed before.Look for new opportunities, or look at the same subjects with a different set of eyes.Look for new possibilities.My dear friend, and photographer extraordinaire, Ken Sklute, said it better than anyone…“Look for the little gems”.
Challenge Accepted
As an avid motorcycle traveler and photographer I often find myself traversing hundreds of miles in any single day.Rarely do I settle in at any given location for any period of time.Most often I have one chance to capture an image at any given location before hitting the road again.More often than not, I am not presented with ideal conditions for landscape photography.
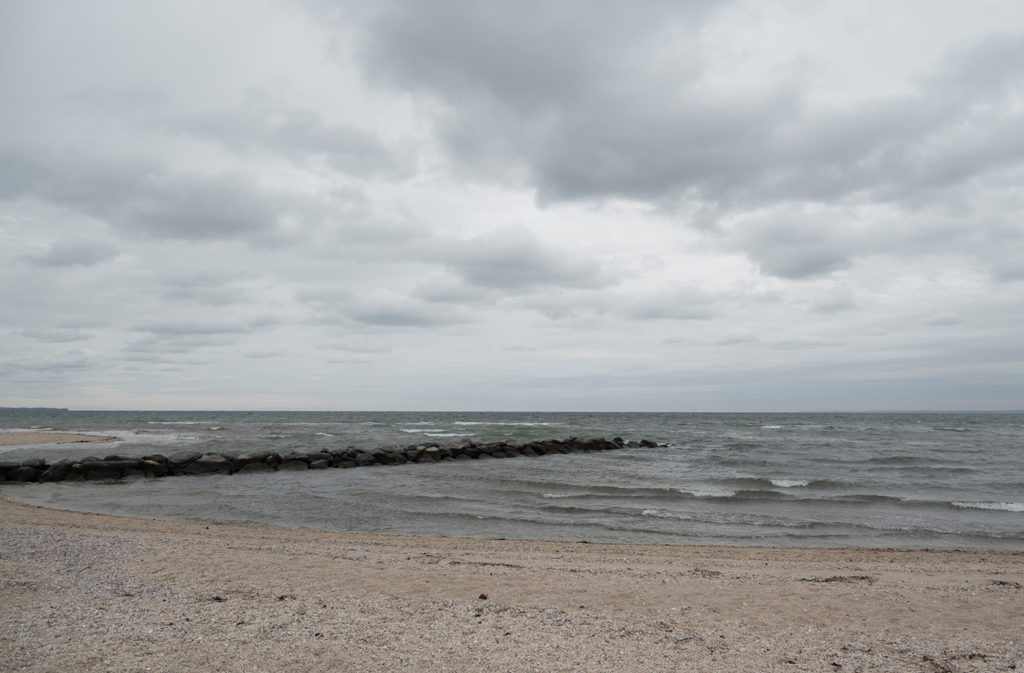
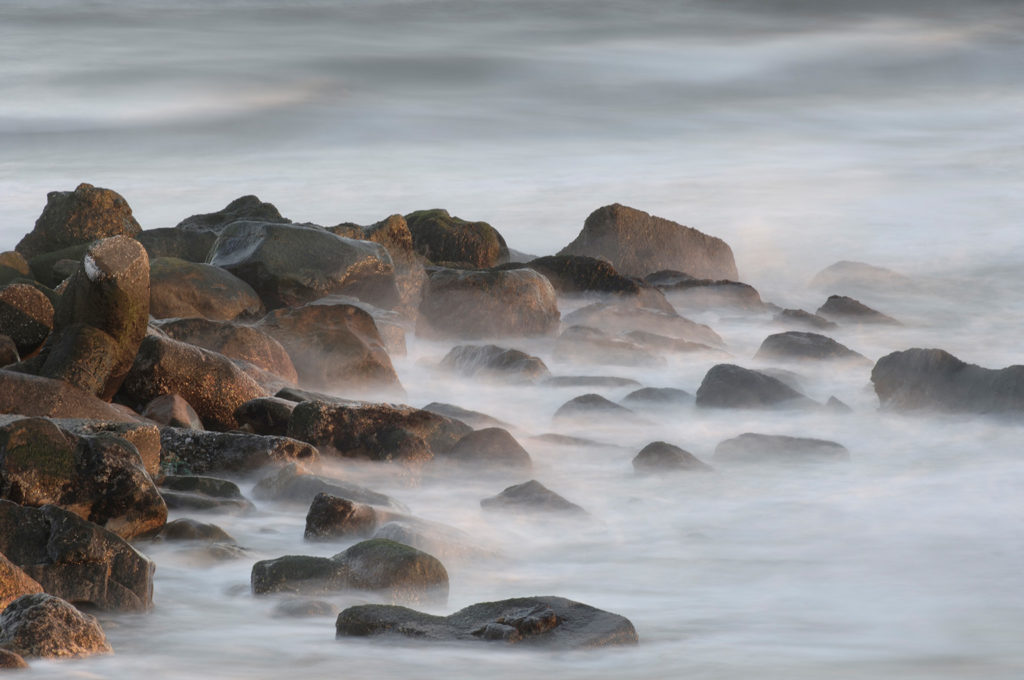
The image below was taken near my home to illustrate the possibilities that your imagination can reward you with.This simple rock jetty juts out into one of the bodies of water that surrounds my native Long Island, NY.It was a cold, damp, grey day and provided little inspiration for a great photographic image.
To further ‘handicap’ my efforts I will tell you that I captured the scene more than 15 years ago on an old Nikon D2X DSLR; a 12 megapixel DX format camera that has long since become obsolete.The camera was equipped with a first generation AF-S Nikkor 70-200mm f/2.8 G zoom lens designed for use on early Nikon film cameras.
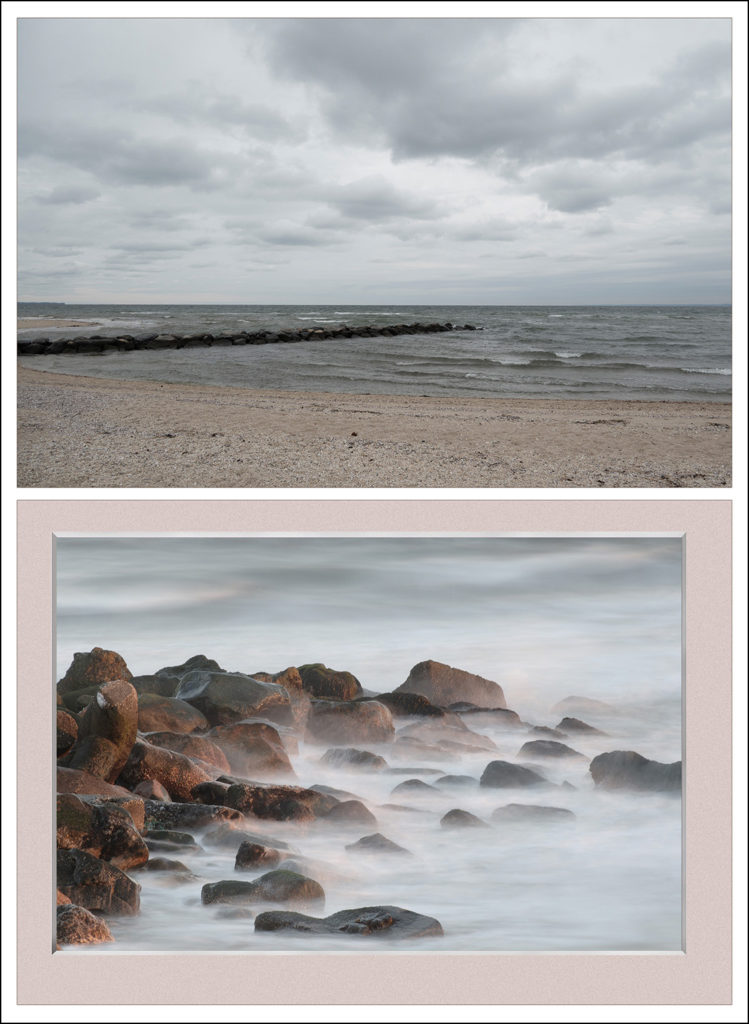
I zoomed out to 155mm (232.5mm in the D2X’s native DX format).The tripod-mounted exposure was 4 seconds at f/22 using the camera’s lowest ISO setting of 100.ND2 and ND4 neutral density filters were stacked on the front of the lens to achieve proper exposure.The resulting image is the featured image for this post.A before and after comparison is displayed below:
Flowing Water Effects Conclusion
Be sure to subscribe to Roadcraft USA.We send out limited, occasional notifications when new features hit the blog.If you have any specific questions you would like answered, please feel free to contact us directly via email.As always we welcome your comments below.
So get out there and create flowing water effects images of your own.Use the technical information learned in this post and the last.Above all…use your imagination and create something you haven’t seen before.Something different.Something inspired.Something that is all yours!
Click Here to view an interactive visual index page where you can quickly browse through all of the great features that are published on the Roadcraft USA blog.
Please help support the Roadcraft USA online resource by making product purchases through the links in this post.As Amazon Associates we earn commissions from qualifying purchases made through these links.There is no additional cost to you whatsoever.Thank you for your support!