Surprisingly the most interest expressed in the post did not come from our motorcycling audience.The photographers who follow and subscribe to Roadcraft USA spoke out in force.Countless questions flooded our inbox.We have created this feature…and a couple more that follow…to answer the questions that came from our professional photographer followers.
Equipment Considerations
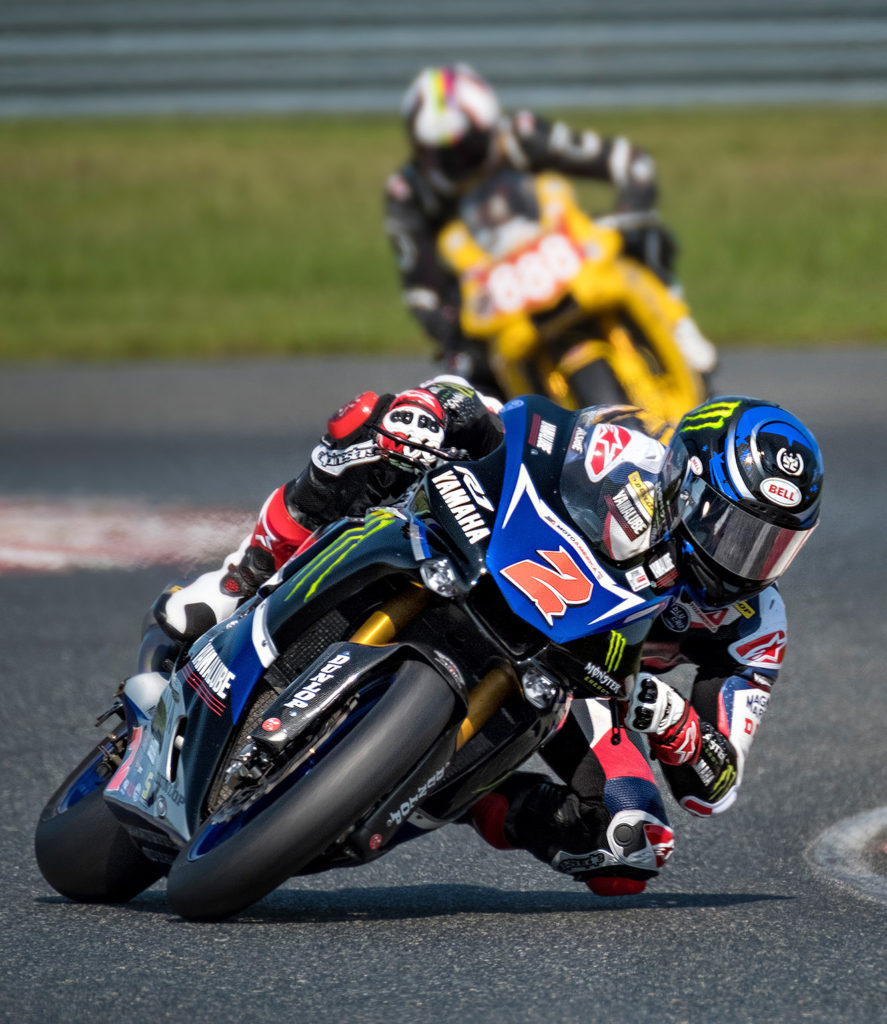
Josh Herrin carving up the racetrack at a MotoAmerica championship event
I received a lot of inquiries into the equipment I use in my motorsports photography.I’ll share that momentarily.Before I do I want to express that the equipment you use isn’t nearly as important as the professional motorsports photography techniques you employ.Don’t get too hung up on which camera you need.Don’t be concerned at all about which camera supposedly has the best autofocus performance.They’re all great these days.
I’ve grown so weary of reading complaints on photography forums about how poorly some cameras perform compared to others.People seem to constantly be on the lookout for the next best magic device.The one that is going to wondrously transform them into a world class photographer.
It’s not about the camera, folks.It’s about the photographer.Proper professional motorsports photography techniques are where it’s at.Some of us seasoned veterans have been doing this for a long time.Doing it well.Doing it without the aid of autofocus, autoexposure, auto everything cameras.Heck…some of us were doing this in the pre-digital film era!Today’s cameras are nothing short of miraculous compared to what we used in the past.
You’ll be hard-pressed to try to convince any veteran motorsports photographer that the reason you can’t capture great images is because you don’t have the latest, greatest camera.We know better.We have the images in our portfolios to back it up.Let those arguments leave your mind and your lips right now.They’re invalid.
OK…But What Camera Do You Use?
My personal choice for motorsports photography is the Nikon Z6II mirrorless camera body.Today.That is subject to change.Because advances are being made all the time in digital imaging technology.Something bigger, better, faster and cheaper is already on the horizon.Count on it.That’s the very nature of technology.Whatever you own/use today will be “obsolete” very soon.Don’t get too attached to any particular model.It will be on the discounted and discontinued model list soon.
I’ve used Nikon cameras for more than four decades.They have proven to be reliable workhorses with incredible image quality.They have always served me well.As a working professional wedding, portrait, commercial and motorsportsphotographer I always carried two of Nikon’s flagship cameras in my bag.
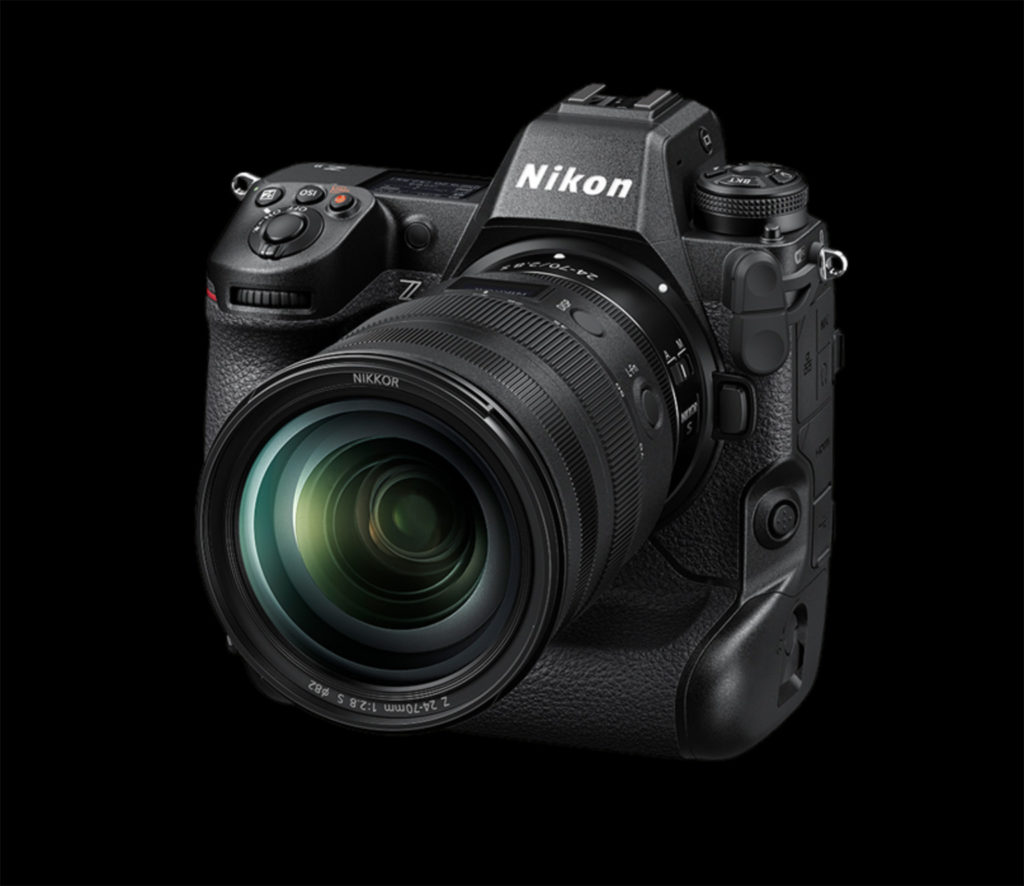
Nikon’s current flagship professional camera…the unparalleled Z9
Some may ask why I don’t carry two Nikon Z9 cameras.The answer is simple.Space.I travel light these days and I travel by motorcycle.You can check out my compact travel configuration here.The Z6II and Z7 bodies that I carry take up far less room than a pair of Z9s.Would the Z9 be superior to the Z6II for motorsports photography?Most certainly.But the lack thereof hasn’t seemed to hold me back from creating dynamic imagery.
Behind the scenes at an IMSA Weathertech Racing Series event.It’s a tough job, but someone has to do it.
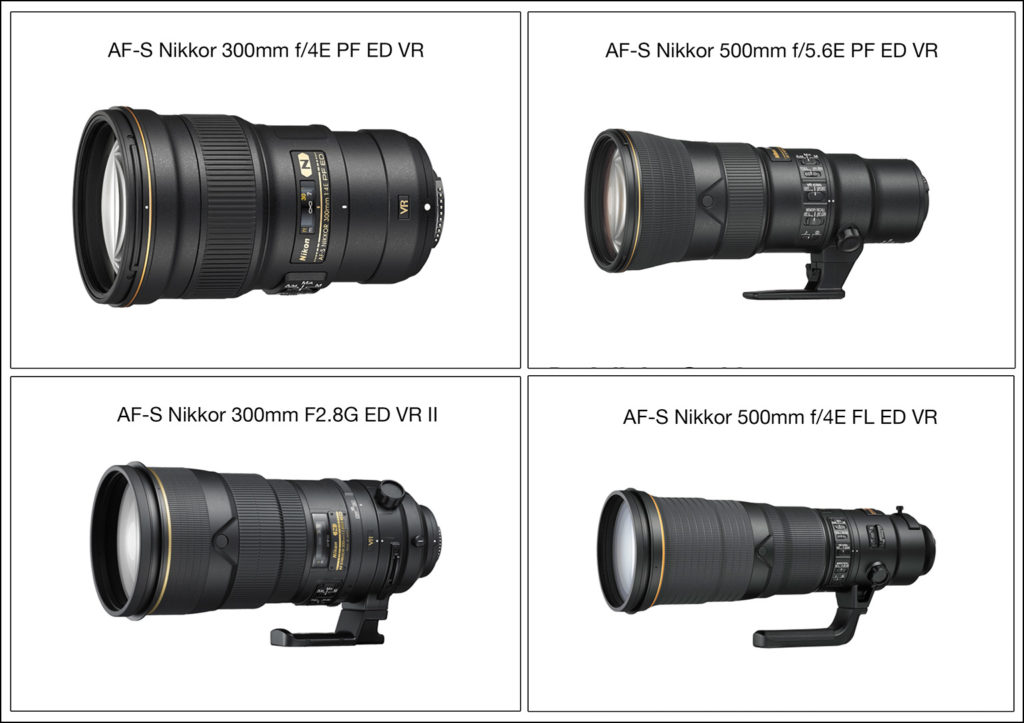
My selection of telephoto lenses will be one of two choices, depending upon the event I’m covering . The first would be the AF-S Nikkor 500mm f/5.6E PF ED VR.Alternatively I would choose the AF-S Nikkor 300mm f/4E PF ED VR.Which one I mount and carry is based upon a number of factors.The distance I’m liable to be stationed from the action.The size of the subject matter I’m capturing.Whether or not I’ll be capturing a single racer, or more than one competitor simultaneously.
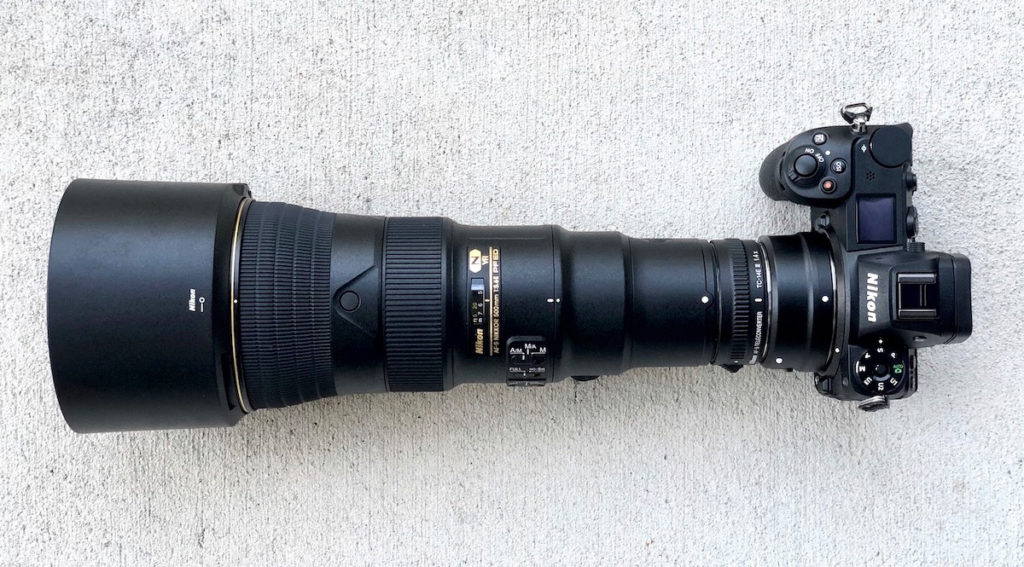
My Nikon Z6II fitted with the Nikkor 500mm PF lens and a TC-14E III Teleconverter
When shooting motorcycle and automobile road racing events I always choose the 500mm.The nature of road racing dictates that you will be further away from the action than with other motorsports events.The race tracks can range from 2 to 4-1/2 miles in length.Invariably you find yourself pulling images from a substantial distance.I’ll often add the Nikon AFS Teleconverter TC-14E III.This bumps my focal length up to 700mm, or as much as 1050mm in crop sensor mode!
The Need For Speed
I’ve had the opportunity to use the AF-S Nikkor 300mm f/2.8 ED VR II.It is an amazing piece of glass.It also retails for $5,499 as opposed to its f/4 little sister at $1,999.Personally I couldn’t justify the extra money for 1 additional f-stop of performance.Sports photographers who find themselves working in less-than-ideal lighting conditions might find that extra f-stop worth every penny.
Phenomenal telephoto lenses for motorsports photography from Nikon
The same holds true at the 500mm focal length.My 500mm f/5.6 retails for $3,599.Its big brother, the AF-S Nikkor 500mm f/4 E FL ED VR comes in at $10,299.Shooting outdoors and employing solid professional motorsports photography techniques didn’t justify that additional investment on my part.By the way, those less expensive PF lenses are smaller and lighter than their more costly counterparts.Size and weight are truly important when you’re walking and working around a racing venue all day.
Expose Yourself
I received a ton of inquiries asking “what camera settings I used” for certain shots.I’m trying not to be too cynical here, but it doesn’t matter what I did.I can give you some suggestions on where to start.What ultimately works for you goes beyond the scope of what worked for me.Let me explain.
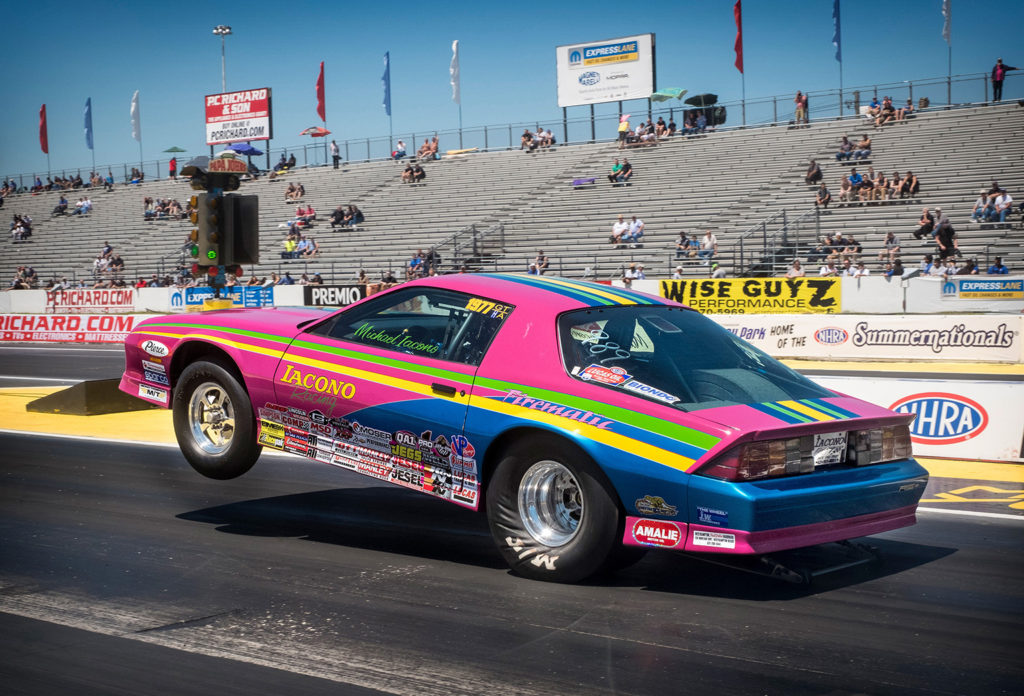
Different venues are subject to differing lighting conditions.Shooting NHRA Top Fuel Dragsters, outdoors on a bright sunny day, requires certain exposure components.In bright sunshine you’ll choose an appropriate shutter speed to freeze the action.Of course you may wish to intentionally blur the photograph.More on that later.
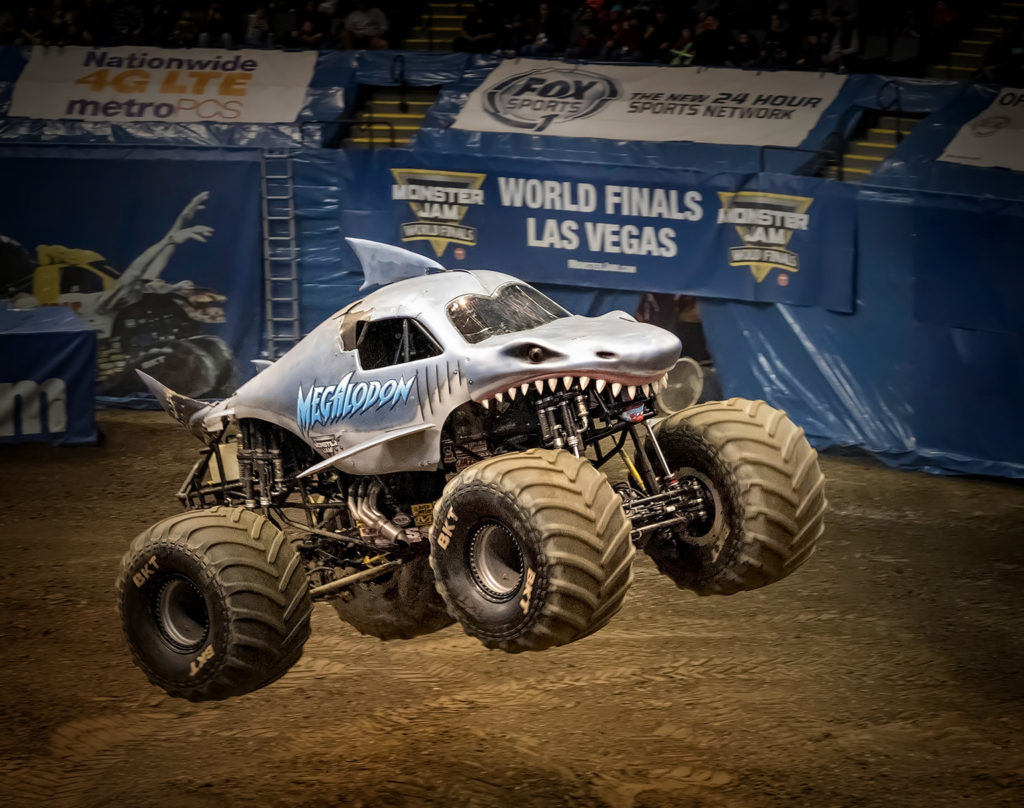
Conversely, if you’re shooting The Monster Energy Monster Truck Series at an indoor coliseum venue, things change.You won’t have all that available bright daylight to illuminate your subject.When working indoors you’ll have to increase your ISO rating to get the same advantage of short shutter speeds that freeze the action.By the way, this is another reason to LOVE the Nikon Z6II camera.Its high ISO performance is extraordinary…arguably the best in the business…making it the perfect camera for indoor sports photography.
Shooting indoors demands a camera with extraordinary high ISO performance
The Starting Line
Most often you’ll want to freeze the action of a racing machine.The higher the shutter speed you dial in, the better your results will be.A majority of my images have been pre-visualized.I know approximately where the action is going to take place and set up the shot in advance.I let the action come to me.I shoot nearly everything in manual exposure mode.If you’re not comfortable with that you should choose shutter priority exposure mode and pick a shutter speed short enough to freeze the action.Then let your auto-everything camera choose the f-stop and/or ISO for you.
There is no absolute value of what shutter speed you’ll need to freeze the action.It will be one value for a road racing motorcycle coming at you while weaving through tight curves at 60 MPH.This motorcycle might be fifty yards or more away from you.
It will be another value completely for a top fuel dragster going by you at 300+ MPH.When photographing these fire-breathing monsters you’ll often find yourself less than 50 feet away!Do a few test shots and examine them carefully.Zoom in when you review them on the camera’s display.Make sure everything is sharp.If not, shorten your shutter speed a little.
Herein lies the beauty of digital imaging.Instant feedback!Instant correction!When we were shooting film we had to wait days to review our results.I don’t miss those days of uncertainty at all.
Motion Blur Techniques
Motion blur images are a mainstay of motorsports photography.It is here that professional motorsports photography techniques really come into play.Once again, there are no magic settings that I can offer to guarantee great results.Too many elements must be factored in.
How far away the camera is from the subject.How far the subject is from the background beyond the subject.That background will be blurred.What the focal length of the lens you are using is.How bright the ambient lighting conditions are.Once again, experimentation will be your guide.
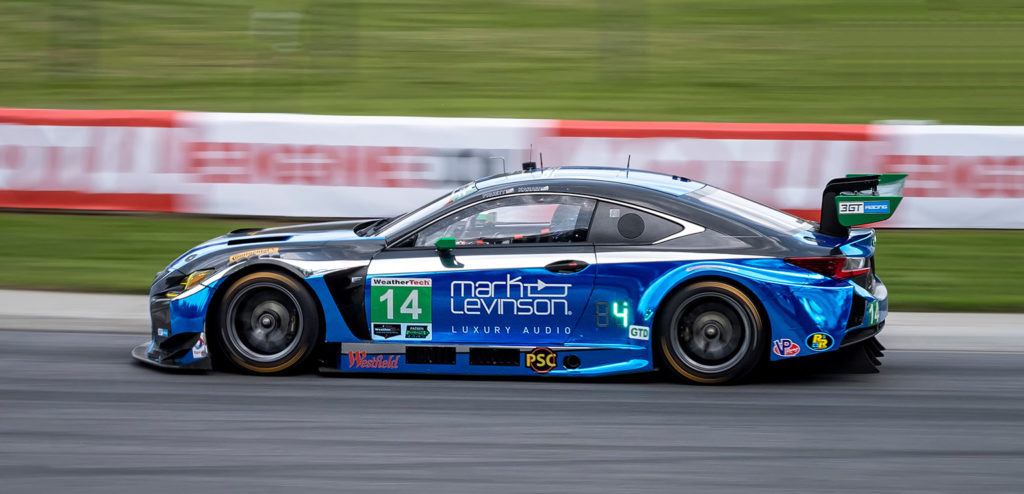
The main thing to understand is that you don’t need an exceptionally long shutter speed to create a dramatic motion blur.We’re shooting race vehicles here…not a bicycle passing on a city street.It doesn’t take much to create that illusion of speed when the subject matter is already speeding.The image below was captured at 1/125 second • f/13 • ISO 200.I chose ISO 200 on this bright sunny day to keep the image as noise-free as possible.The generous f/13 aperture helps insure that the car will remain in sharp focus.The 1/125 second shutter speed provided an impressive motion blur as the camera panned along with the moving car.
Track Your Subject
One of the keys to getting great motion blur effects is to start tracking your subject before you release the shutter.Point your camera at the approaching vehicle and start following its path with your camera.Release the shutter just as it approaches the spot at which you want to capture it.Use the continuous high speed release mode on your camera to record multiple images.
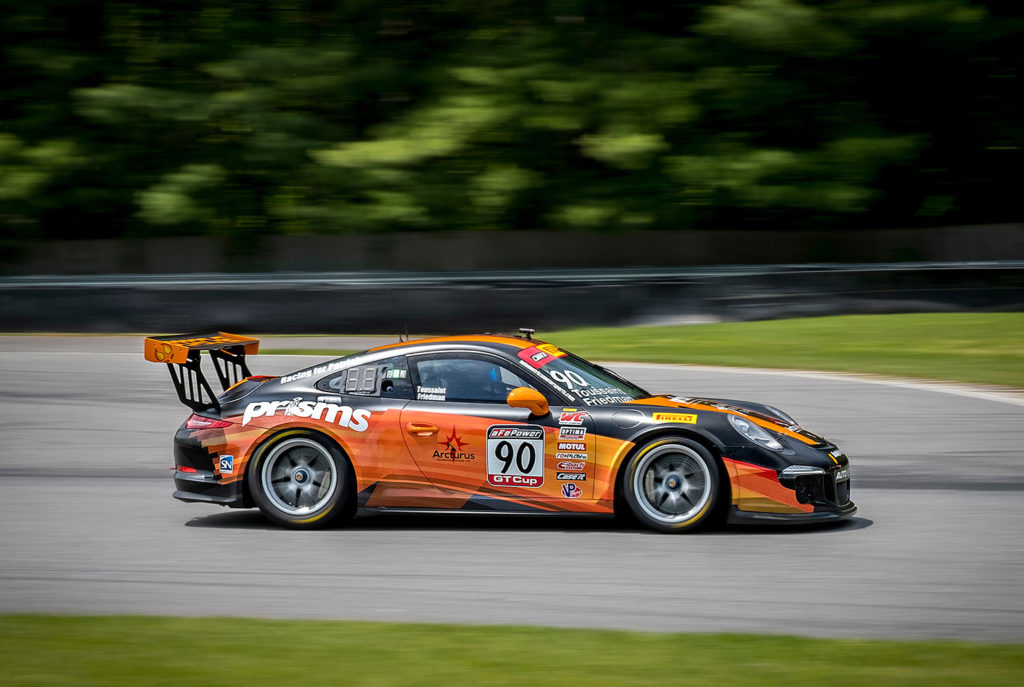
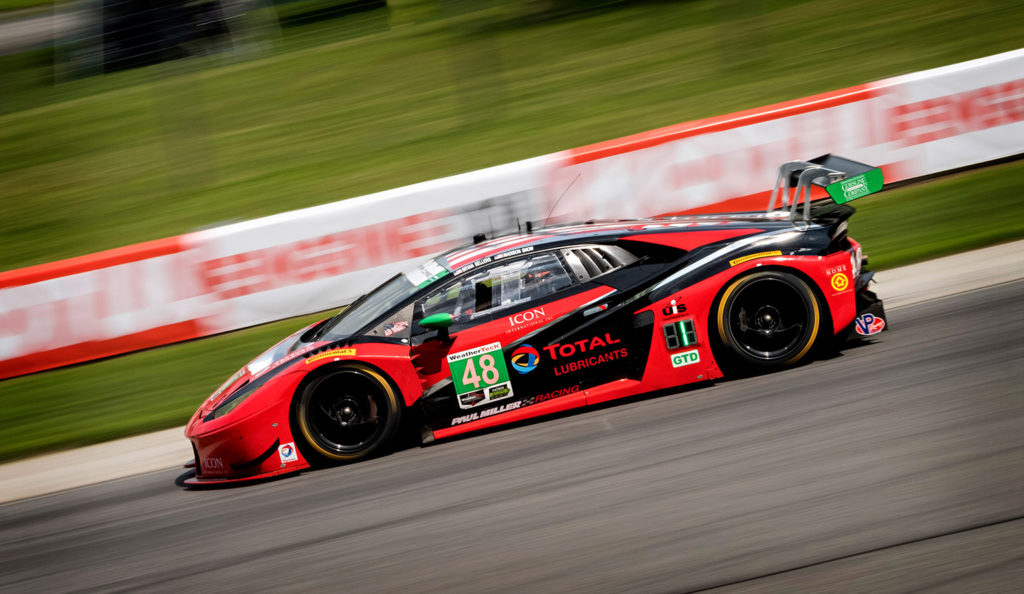
It is so VERY important that you follow the vehicle as smoothly as possible.If you pan too slow or too fast you’ll ‘lose’ the subject and you won’t capture the desired result.Your pan needs to be perfectly level, too.Any upward or downward movement of the camera off plane will destroy the effect.All it takes is a bit of practice.Once you get it you’ll be producing great motion blurs consistently.The image below was exposed for a mere 1/250th of a second • f/9 • ISO 200.
Focus On Your Technique
Great motion blurs are more about your physical body moves than any photographic parameters.SMOOOOOTH is the key.Start with your body facing the spot where you want the shot to happen.Point your torso in the direction of the approaching subject.Rotate smoothly back to center as you follow your subject to ‘ground zero’.Release the shutter before it gets there, and continue to hold it down as it passes.This is digital, Man.It’s not like you’re wasting money on film.You’ll wind up with more than one usable image for certain.You get to pick the one you like best.
The best autofocus mode for motion blurs?I couldn’t tell you.I don’t use AF for these shots.Autofocus is just one more variable that can go wrong.I manually set my focus at the point on the racetrack where I know the action will take place.My small aperture (f/9 and f/13 in the examples above) insures that everything on my passing subject will be in sharp focus.Fundamentals, folks.It’s about professional motorsports photography techniques.Not technology.
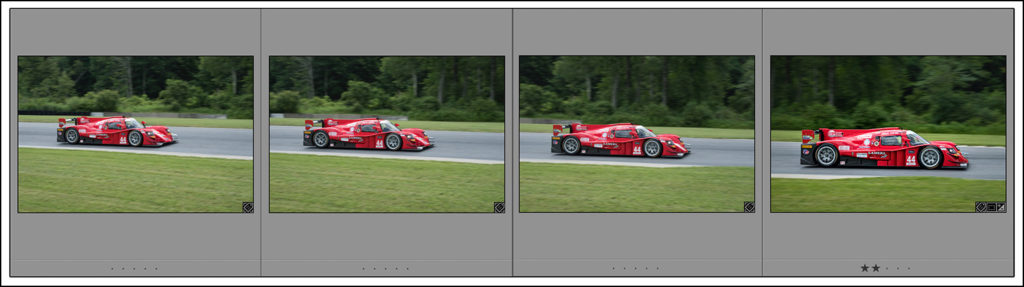
This technique is illustrated in the sequence of shots shown below.Point your camera at the subject and start panning with it as it approaches.Hold down the shutter release button.Follow the subject smoothly as it goes by.The subject will drive into the position on the track that you are pre-focused on.Voila!You have your dramatic motion blur image.
Vibration Reduction Settings
One last thought on capturing those great panning motion blur images.Your telephoto lens might be equipped with vibration reduction (VR).In the case of the Nikkor lenses that I use, you have the option of choosing between Normal and Active (Sport) VR settings.Your first thought might be to use the Active/Sport setting because the camera (and therefore the lens) will be moving…they’ll be “active”.Wrong.
The Sport/Active mode on the Nikkor VR lenses is to be used when YOU are being subjected to harsh vibrations.An example might be when you’re shooting from a moving car, boat, aircraft or other vehicle.Remember: those awesome motion blur shots require that you move smoothly.Very smoothly.Therefore you will not be imparting any harsh vibrations upon the camera.Henceforth when panning with the camera, VR should be set in normal mode…not Sport/Active.You can read Nikon’s support article about this subject here.
If you have any questions or comments we encourage you to present them below or contact us directly via email.We’ll be happy to answer them.We urge you to subscribe to Roadcraft USA so you don’t miss any future posts that will certainly be of interest.Until next time…
Please help support the Roadcraft USA online resource by making product purchases through the links in this post.As Amazon Associates we earn commissions from qualifying purchases made through these links.There is no additional cost to you whatsoever.Thank you for your support!
Click Here to view an interactive visual index page where you can quickly browse through all of the great features that are published on the Roadcraft USA blog.