Sometimes great images just happen. We all have a few of them in our portfolios. Just lucky to be in the right place at the right time. A dramatic sunrise over majestic mountains. A spectacular sunset on a tropical beach. Fierce storm clouds rolling across an expansive landscape. I’m always grateful when the stars line up just right, but serendipity must always be looked upon as a blessing; not a strategy. Great images don’t consistently materialize before us. Most brilliant photographs start with a remarkable idea…a concept.
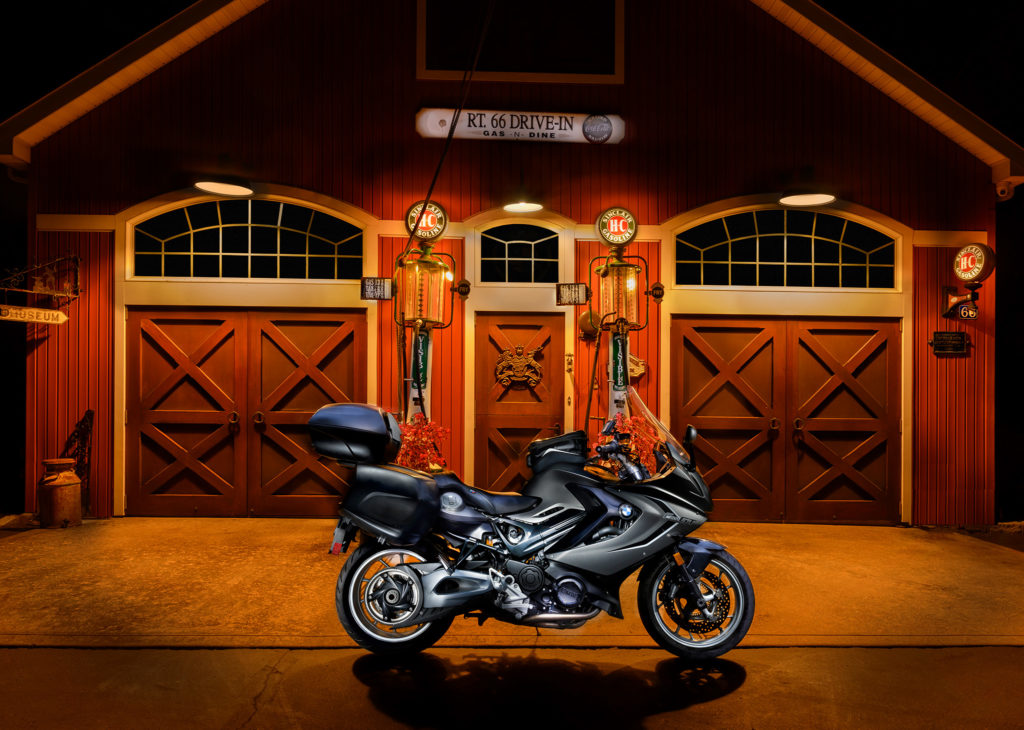
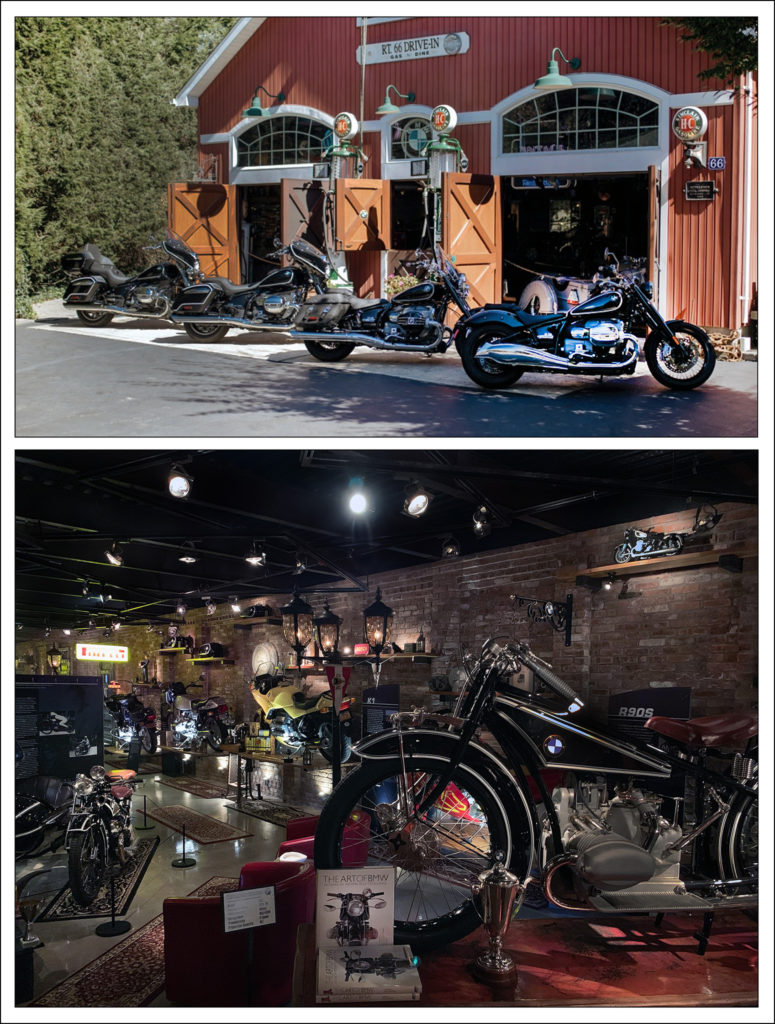
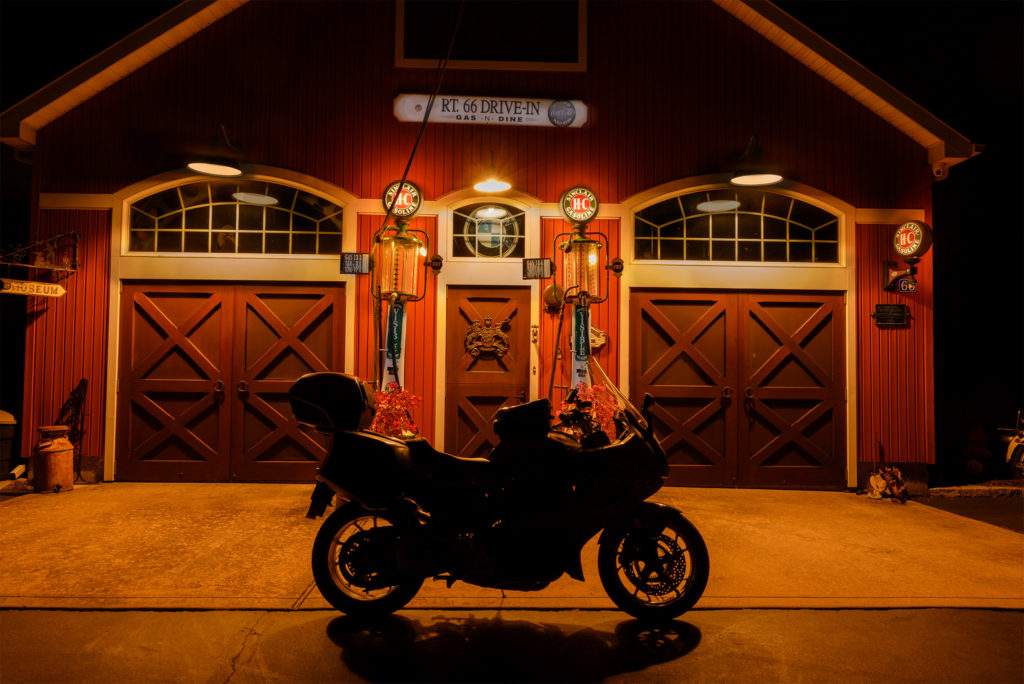
I had been thinking about this image for some time before I even got behind the camera. I wanted to create an image that placed my modern, hi-tech motorcycle in an environment reminiscent of days gone by. “Back To The Future” or “Time Machine” was the theme and might ultimately become the image’s title. I went on the lookout for a suitable location at which to make the magic happen; then, as if on cue, I was blessed with an opportunity to visit the “by invitation only” Nettesheim Museum…the world’s largest privately held collection of BMW motorcycles.
On site at the venue is an old fashioned barn designed along the motif of a vintage gas station, replete with classic fuel pumps, cross brace barn doors capped with transom windows, replica gas lamps and a sign saying “RT. 66 DRIVE-IN”. Perfect. After touring the museum I spoke with the owner of this world-renowned collection, Peter Nettesheim, and received his blessing to return to the premises to create my photograph. The only caveat was that I had to be as unobtrusive as possible as Peter and his staff would be on site, busy detailing a number of vintage BMW motorcycles and loading them onto a trailer, for transport to a show at The Barber Vintage Motorsports Museum.
Riding my motorcycle to the museum and working by myself seemed like the best option, so I loaded my camera gear into the top case on the back of the bike and strapped a tripod to the passenger seat. One of the challenges of photographing an object like a motorcycle is that it is made up of many different surface materials, all of which have different reflective qualities. In a studio environment, against a plain backdrop or cyclorama, it is fairly simple to capture a well lit photograph using large light boxes and a number of sizable reflective panels; but this was going to be a totally different contest.
I wanted the overall image to take on the warm colors that would naturally radiate from the vintage lamps, but I needed the motorcycle to accurately maintain its cool, contemporary, neutral grey patina. Light painting would be the technique I would have to employ to achieve this end. Ultimately this image would be “made” in the digital darkroom, not in-camera.
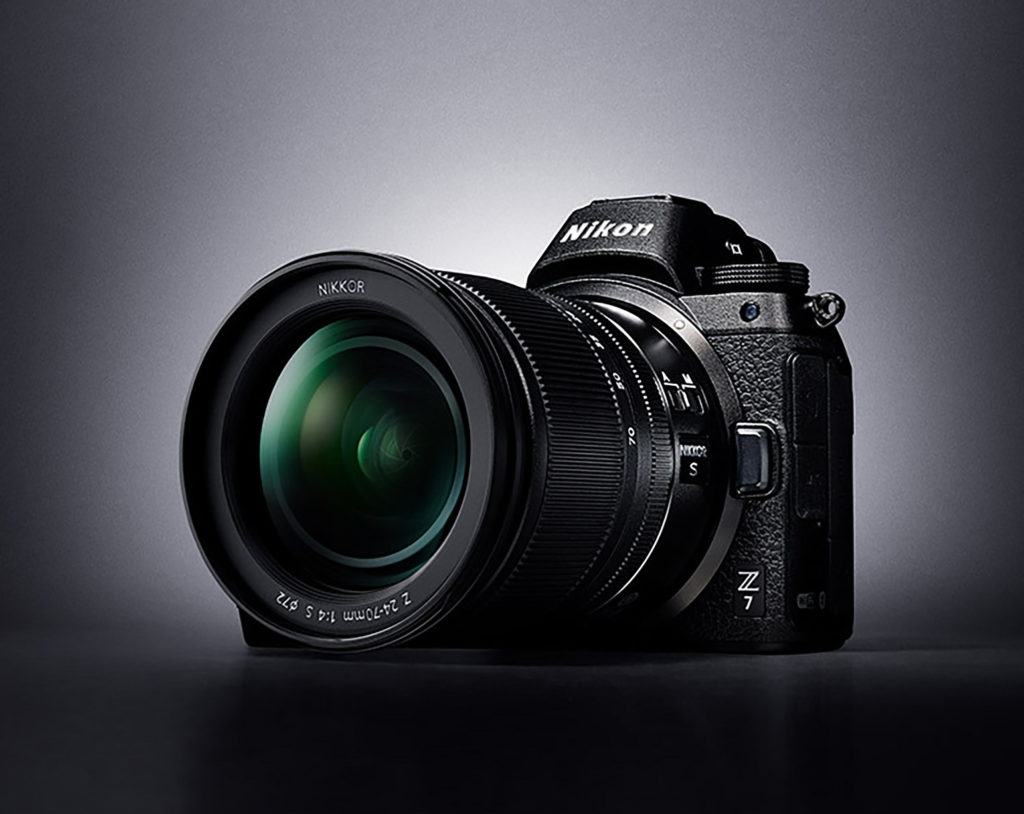
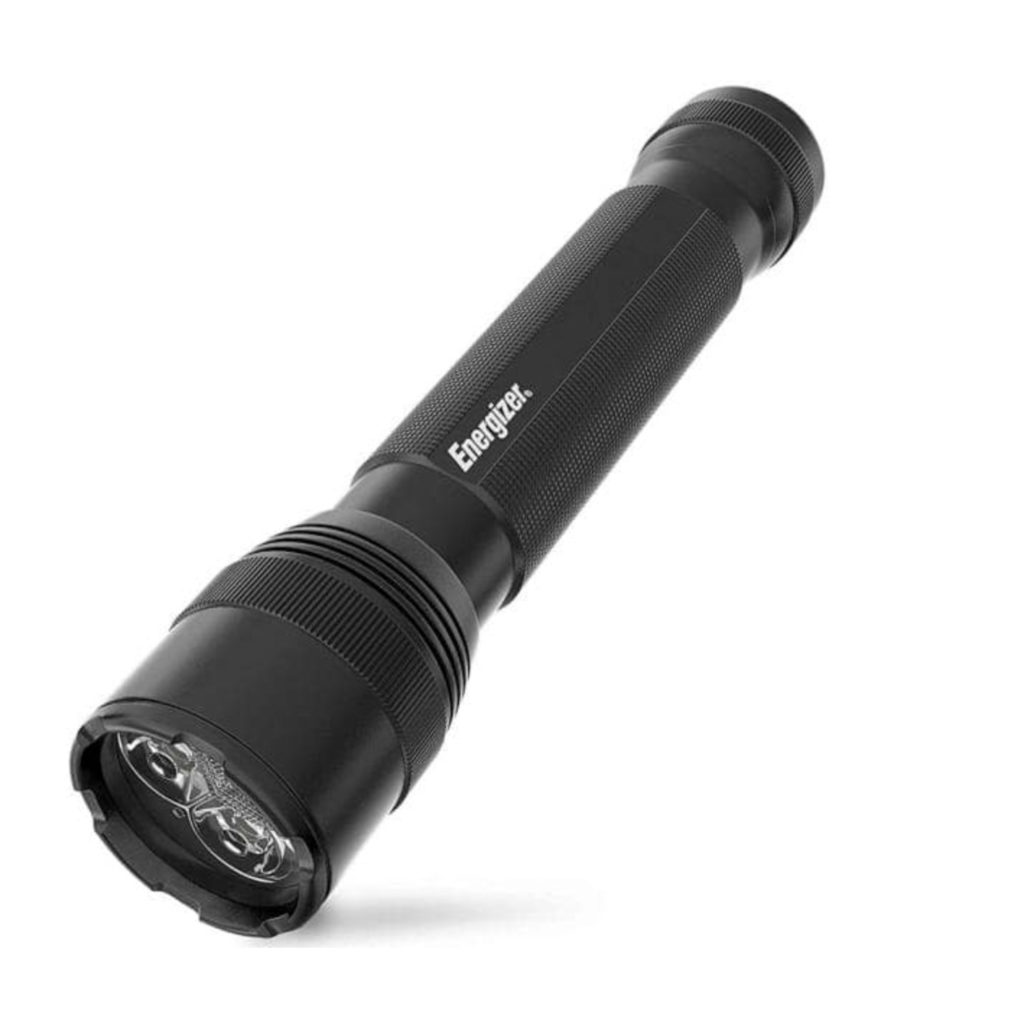
When photographing an object like a motorcycle, with its various surfaces of differing reflectivity, I would normally choose my Nikon Z6II camera for its incredible high dynamic range; but I knew that I would be exposing the different surfaces independently (and knew that the finished image was bound for printing and publication) so I chose the higher resolution (46 Megapixel) Nikon Z7 for the shoot. As a commercial photographer I’ve always been of the mindset that one should have at least as much money invested in lighting gear as you do in cameras and lenses, but I was going to violate that rule to the extreme this time out. Beyond the lamps on the exterior of the barn my sole source of lighting for this image was going to be the small Energizer LED flashlight that I carry on the bike for roadside emergencies!
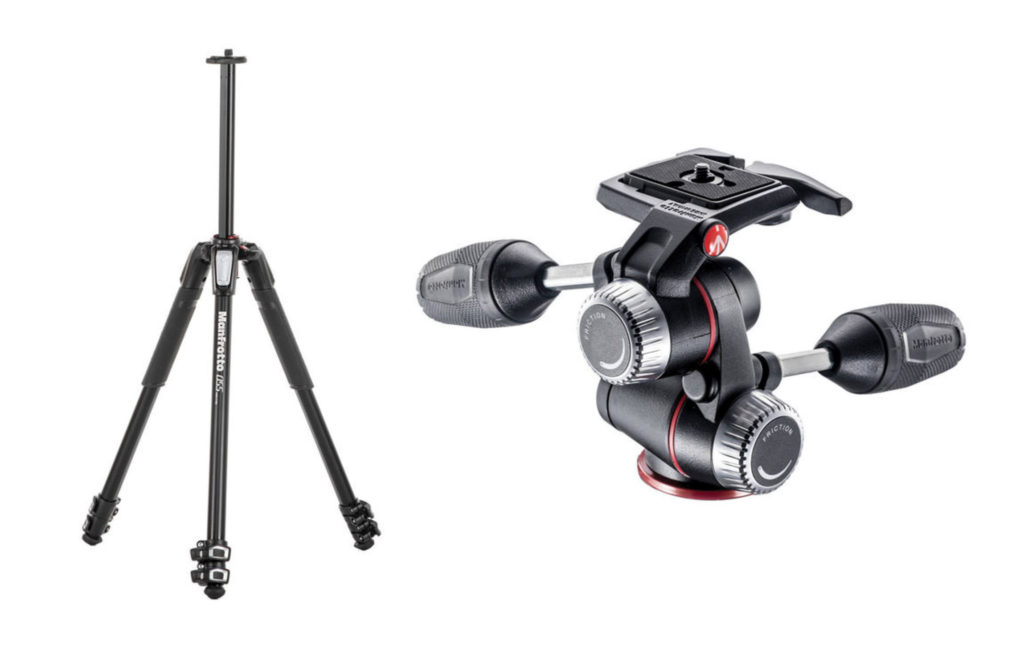
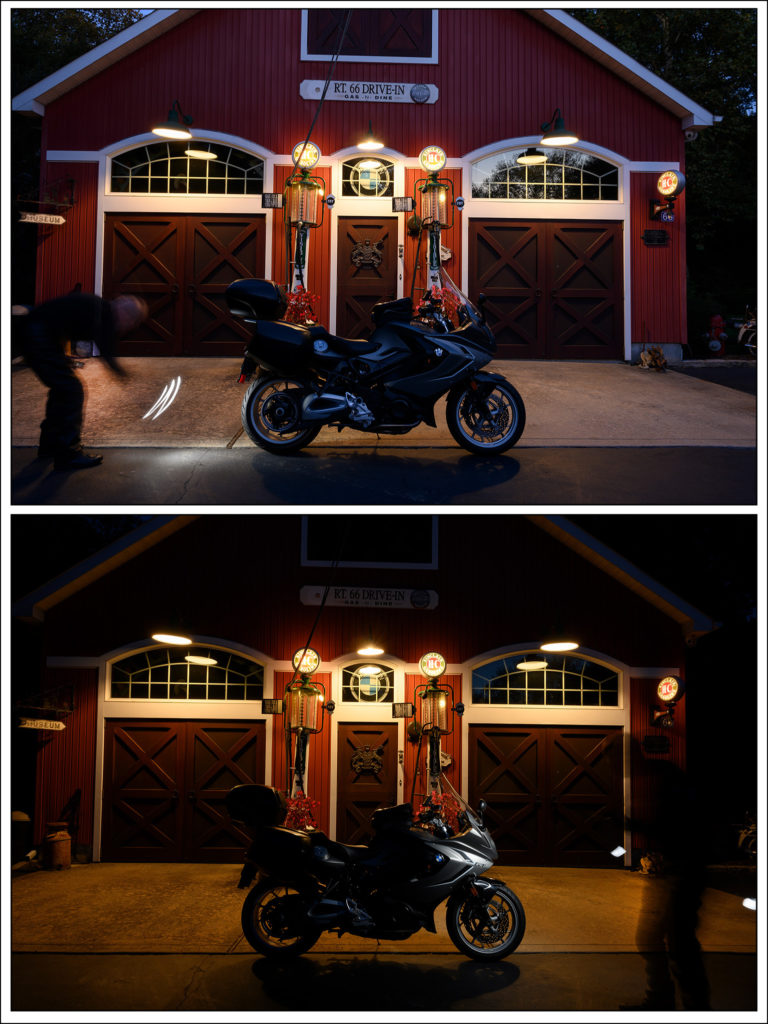
Step one after riding the bike onto “the set” was to set the camera on a sturdy Manfrotto tripod with a heavy duty 3-Way Pan/Tilt head. I can’t stress enough the importance of a sturdy camera support as it will need to remain absolutely motionless for the next hour or so. Once the camera is set in position, and the shot is framed, I focus manually and tape the zoom and focus rings on the lens in place with gaffer’s tape. Again…NOTHING CAN MOVE! I then make a quick “base” exposure, under the fading daylight, which will be the key anchor element when post-processing this image. Nothing to do now but wait for it to get dark.
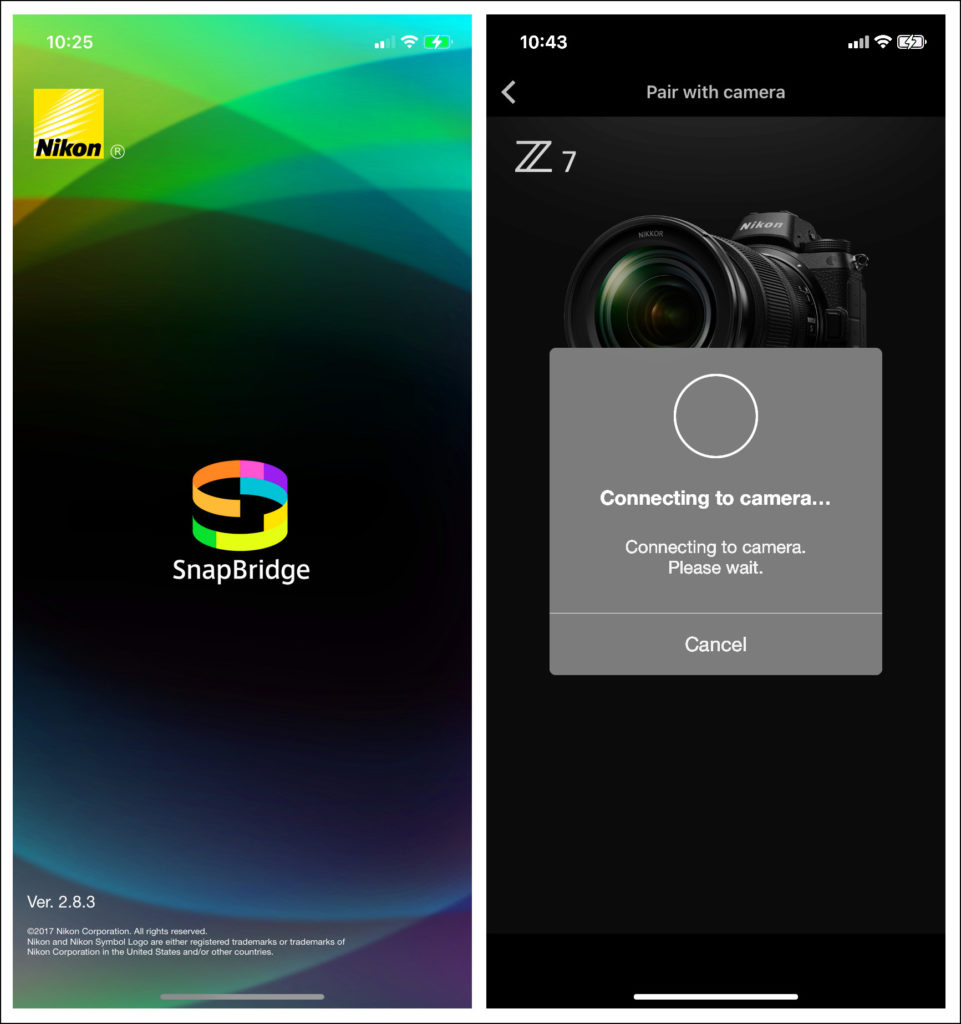
Once darkness sets in on the scene I make an exposure metered for the background element…the barn and its lights. I use a daylight white balance which renders the scene with a warm orange glow. Now it’s time to start making exposures on the bike itself. I take my little flashlight in one hand and my iPhone in the other. The iPhone is loaded with Nikon’s proprietary SnapBridge App which is key to this shoot. I can completely control all the necessary camera functions, via bluetooth connectivity, which solves the most worrisome potential problem…that of disturbing the camera by even the slightest amount when making tactile settings adjustments or looking at image reviews. All of that is done in the palm of my hand on the face of the smartphone with the SnapBridge App!
Firing the camera remotely I “paint” different areas of the bike with the tiny flashlight, making shorter exposures on the light colored reflective painted surfaces and longer exposures on the dark non-reflective plastic and rubber surfaces like the tires. I review the captured images instantly on the iPhone, make any exposure compensation necessary and move on to another area of the bike. I walk around the bike (dressed in black to avoid any unwanted reflections) and paint about 30-35 exposures in just a couple of minutes time. That’s it. The shoot is over. I pack my gear and head home to the computer where the real magic takes place.
I load all of the RAW files into Adobe Lightroom and choose approximately 25 shots that will be composited together for the finished image. Slight adjustments are all that are necessary to insure that exposure and white balance are complimentary for all the chosen frames. The adjusted RAW files are exported and now it’s time to put them together in Adobe Photoshop. Starting with a new blank image, the exact size of all the others, I paste in the base exposure referred to above. This layer will not appear in the finished composition. It is just there as a flat visual reference of the overall composition. Following this I paste in the image of the bike silhouette against the perfectly exposed background. We now have our perfect background exposure.
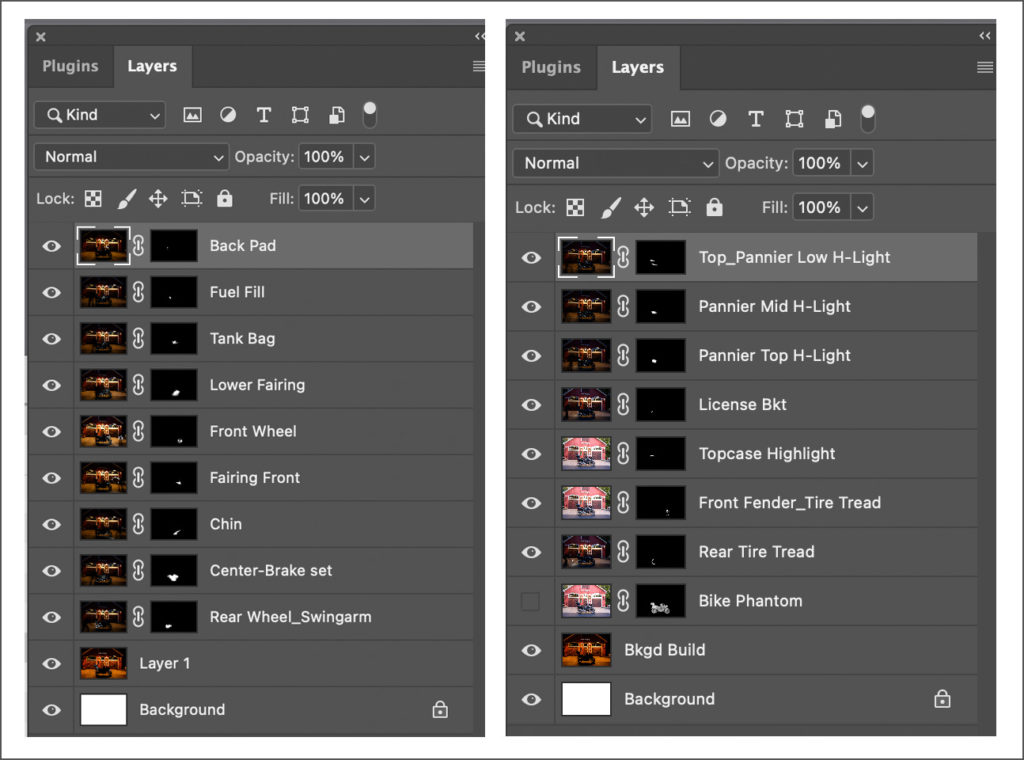
Now, one by one, add in each of the chosen frames to the base layer as a new layer…each one really being just a small section of the bike that is perfectly illuminated. Convert each new layer to a layer mask, invert the mask and “paint” back in only that small section of perfectly exposed subject. Continue doing this with each of the chosen images until you have the finished dramatically spot-lit motorcycle in the scene. That’s it. Save the layered .PSD file in the event you wish to go back in and make any adjustments. Flatten the layered .PSD file and save it in your choice of formats for delivery.
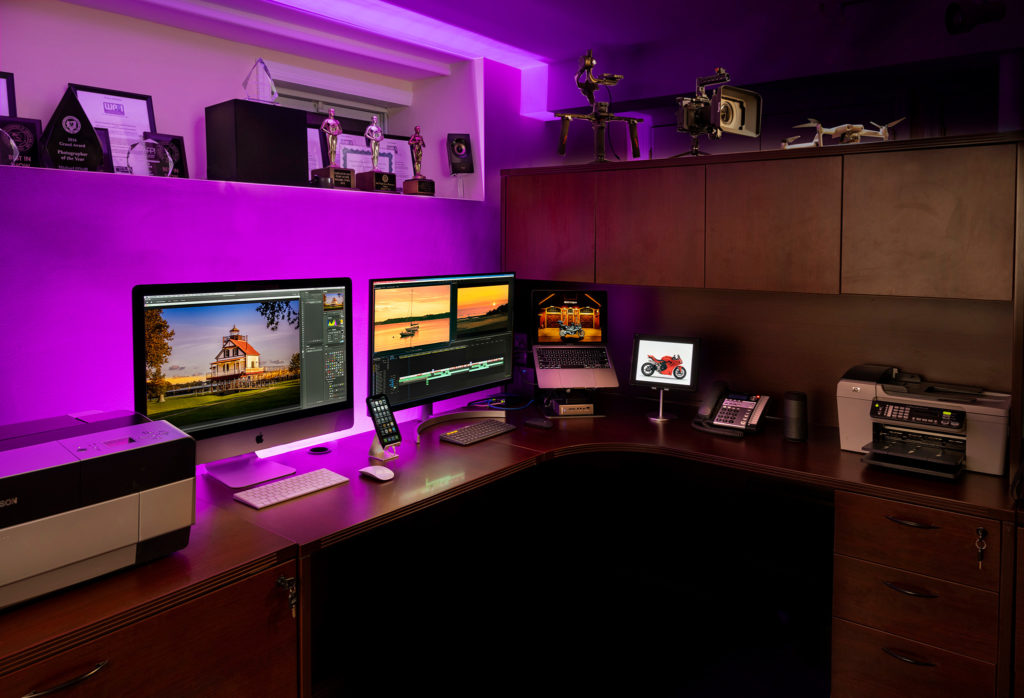
A couple of things to think about… Photoshop has a maximum file size of 2GB and you can reach that pretty quickly when stacking up 20 or more 47 megapixel images (they’re going to open up at about 130MB each). You may have to make two different composites. I found myself doing about 12 layers in one composite, reaching the 2 GB limit, flattening it and using that flattened image as the base layer for a second composite with the remaining chosen exposures. Don’t worry…everything will line up perfectly because you never touched the camera…right? Also keep in mind that Photoshop is a pretty RAM-Intensive application, so the more powerful your computer, the faster the post-processing will go. It all could have been done on my little MacBook Pro, but I wouldn’t have wanted to.
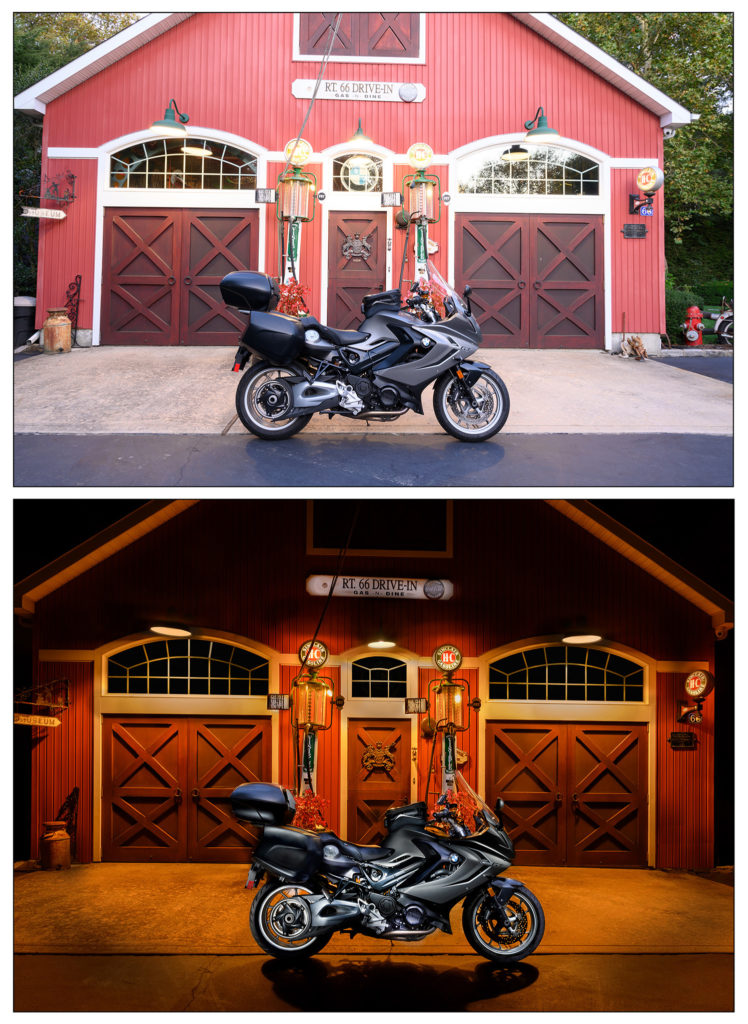
So there you have it…”Time Traveler” from concept to completion. We truly hope this feature provided you with some valuable inspiration and technique to help when you are out creating dramatic images of your own. What are some of your favorite location lighting techniques? Do you have any hacks you can share with our readers? Leave a message in the comments below and be sure to subscribe to Roadcraft USA for new post alerts, breaking news and special offers.
Thanks for taking the time to describe how you “got” that perfect shot Mike!
Pingback: maine acadia motorcycle travel - Roadcraft USA
Pingback: Lightroom and Photoshop techniques